HQ Car Of The Future................... ish..
Step 1..
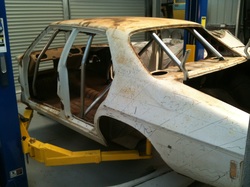
let the journey begin...
purchase a current log booked race car and strip it back to a shell....
purchase a current log booked race car and strip it back to a shell....
Step 2..
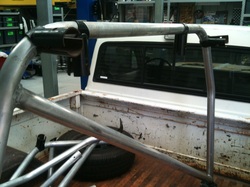
take out roll cage and check over for any stress or damage.. maybe bang in new bolts and send it off for a bit of a polish up... no real race advantages but just a nice treat..
Step 3..
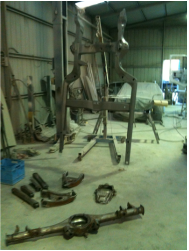
ask Diamond Dave nicely to paint up the rails, diff, control arms etc...
not too many coats now Dave!
not too many coats now Dave!
Step 4..
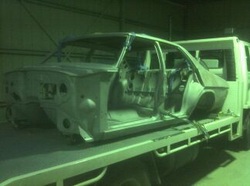
pick up shell from hot tank.. (make sure you over cook it a bit) bye bye any deadener, filler, rust.. hello some holes to fill!.. not many luckily..
Step 5..
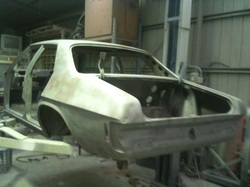
ready for a light undercoat to stop the rust kicking back in..
hmmm... what colour will undercarriage and internal be?
- glossy and flashy?
- satin and practical?
hmmm... what colour will undercarriage and internal be?
- glossy and flashy?
- satin and practical?
Step 6..
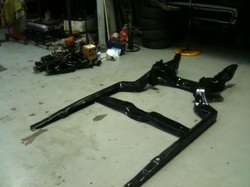
get the diff,rails and accessories pieced together and get things ready to throw back on shell to get her rolling again..
Step 7..
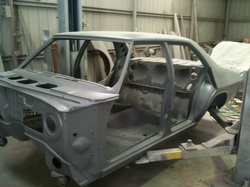
light coat of primer..
- 6 drops of essence of terror
- 5 drops of sinister sauce
may i lick the spoon? ha ha of course..
but Dave we need a touch of tenderness or it might destroy me.. :(
- 6 drops of essence of terror
- 5 drops of sinister sauce
may i lick the spoon? ha ha of course..
but Dave we need a touch of tenderness or it might destroy me.. :(
Step 8..
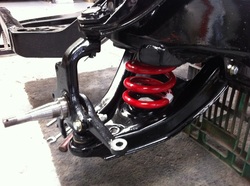
front end assembly starts..
Step 9..
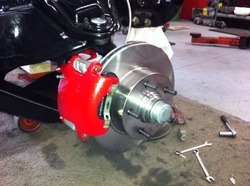
nice and new callipers, rotors and pads...
Step 10..
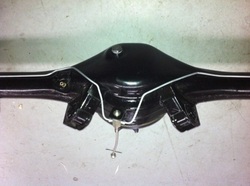
run new brake and fuel lines...
Step 11..
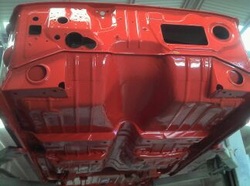
signal red was the color of choice for internal/ boot/ under carriage/ firewall..
Step 12..
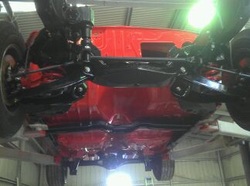
bolt on the rails and diff.. shes a roller again!
Step 13..
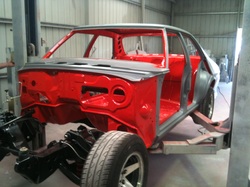
under coat the outer ready for top secret livery..
Step 14..
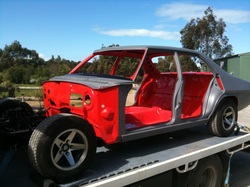
on the truck ready for reassembly at ShakenBake Central..
Step 15..
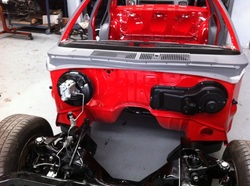
we have brakes!... and all original heater box and components go back in... 'as per the rules'..
Step 16..
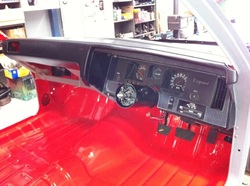
original wiring harness and gauges are in... along with the steering column and pedals..
have to remember ..these are standard Kingswoods @ heart.. we can only change what the rules allow..
have to remember ..these are standard Kingswoods @ heart.. we can only change what the rules allow..
Step 17..
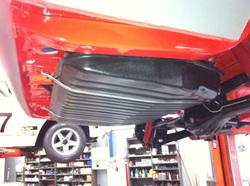
fuel tank and lines are in...
Step 18..
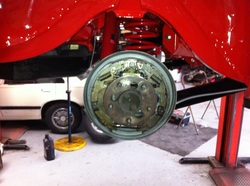
rear brakes assembled..
Step 19..
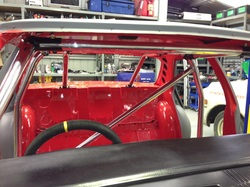
cage is in and locked down...
Step 20..
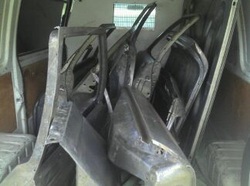
collect panels from strippers ready for "Diamonds" magic..
Step 21..
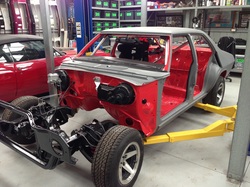
seat and belts are in.. ready for external paint shortly?
step 22..
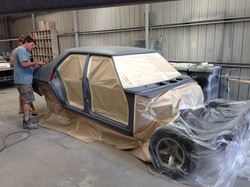
back to Diamond Dave for external shell paint...
step 23..
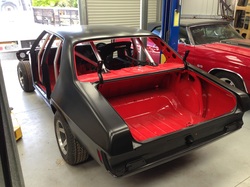
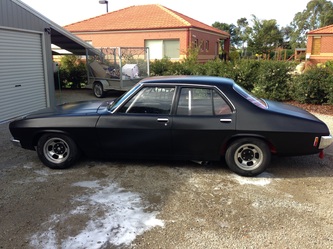
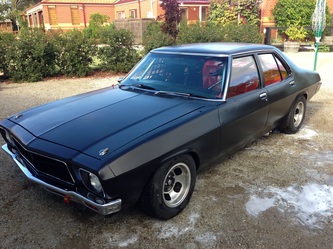
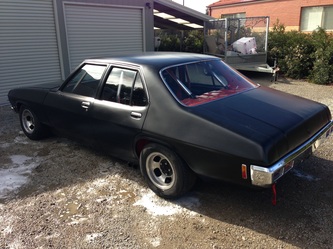
semi gloss black was the choice.. we shall call it VADAR.. or STEALTH.. BLACK BETTY or CAVIAR?
BLACK BETTY IT IS!!! bam a lam..
BLACK BETTY IT IS!!! bam a lam..
step 24.
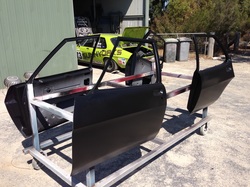
not sure if these rails are legal??
step 25..
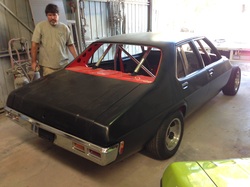
doors on... boot on.. bumper on..
step 26..
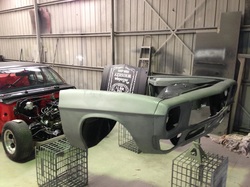
front clip ready and assembled for painting..
step 27..
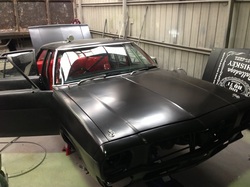
front clip painted and on!
step 28..
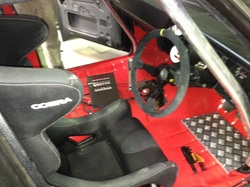
seat goes in.. foot plate.. race wiring and gauges! sweet...
step 29..
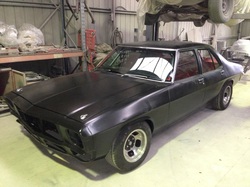
all together... and ready for engine!
step 30..
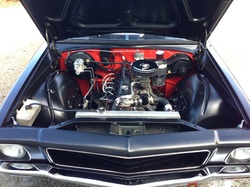
engine in.. all the lights/ grill/ bars/ door trims/ etc...
BLACK BETTY is ready.. bam a lam..
BLACK BETTY is ready.. bam a lam..
